How to Cut Fabric
As with any project involving fabric, wash it and iron it first! Why? Fabric shrinks when it's washed. If you don't wash it before you sew, your fabric will be all wonky because each fabric will shrink at a different rate. And then there's the dreaded bleeding of color! So, just be a good crafter and save yourself tears, headaches, and screaming in frustration.
I iron after taking it out of the washer or use a spraybottle to wet the fabric to get the really deep wrinkles out.
Now, fold your fabric, lining up the edges as best you can. You may think the person at the fabric store cut straight because of that handy-dandy metal strip on their table, but it doesn't always happen. You will always need straight edges! As for how many times you fold, it's more important that you get a straight cut. Sometimes thin fabric can be folded into more than 4 thicknesses, and sometimes not. The fabric underneath may shift, causing the straight line on the top to be all wonky on the bottom. I try not to go over 4 thicknesses.
If you don't have one already, I REALLY recommend that you get a large plastic ruler, cutting pad, and rotary cutter. These are tools that make your life SOOOOO much easier!
Now we're going to cut off that really weird edge of fabric called "selvage." This is the part of the fabric that the printing machines use to hold the fabric in place. The colors may not be as clear on the edge, and often they're stretched out and have small holes. Some fabrics will have a list of dots on the side. This is a nifty idea that will allow you to choose corresponding fabrics. If you keep the selvage edge with the dots, you can go to other stores and choose fabrics that match!
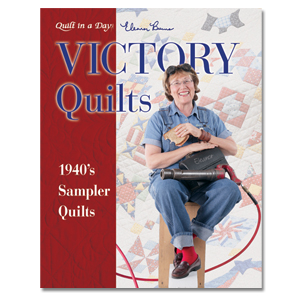
*SIDEBAR* I learned to quilt by watching a very funny lady, Eleanor Burns. She has this funny habit when she cuts something off she's not going to use, she throws it over her shoulder and says, "I'll clean that up later!" I recommend you visit her site and watch her videos!
This selvage edge is unusable, so we're going to cut it off and throw it away. I use the bottom line of the ruler to get a straight edge. Place the ruler about a 1/4 " from inside the inside edge.
Then cut, cut, cut!
Now we need to have a straight line along the top. Again, the ruler needs to line up along a folded edge. Line it up, and cut, cut, cut!
.JPG)
.JPG)

.JPG)
.JPG)
.JPG)
No comments:
Post a Comment
Please leave a comment! I consider all comments as part of the learning experiene!