Here you will find my projects as they are completed. Some of them worked great, some did not. If you try these projects, make sure you leave a comment to let me know!
Glassware
I collected all my glassware including all the vases I've collected from the flowers my wonderful, stupendous, fabulous husband has give to me over the years.
I then scoured the dollar stores, thrift stores, and yard sales for items to use for my Mercury Glass and Apothecary Jars projects.

For Apothecary Jars, you want to collect any jars that have lids. This lucky little bugger was a $1 Thrift Store find.

The size of the vase will dictate whether you want to use it for Mercury Glass or Apothecary. Test them out by placing them on the candlesticks. If they look great, glue them in. If not, then look at them for the Mercury Glass. But make sure you can get your hand inside or it's a no-go for the Mercury Glass. If the neck is too small, and they don't look good on the candlesticks you have, set them aside. You may find the perfect candlestick later!


 Then, spray paint! But wait, which paint? The directions called for the Krylon Looking Glass Paint. Unfortunately, it's very expensive ($17??? Seriously?? It's SPRAY PAINT people!)
Instead, I used the Silver Metallic paint. It was ok. Just ok, though. Not quite the full effect.


I collected all my glassware including all the vases I've collected from the flowers my wonderful, stupendous, fabulous husband has give to me over the years.
I then scoured the dollar stores, thrift stores, and yard sales for items to use for my Mercury Glass and Apothecary Jars projects.


The size of the vase will dictate whether you want to use it for Mercury Glass or Apothecary. Test them out by placing them on the candlesticks. If they look great, glue them in. If not, then look at them for the Mercury Glass. But make sure you can get your hand inside or it's a no-go for the Mercury Glass. If the neck is too small, and they don't look good on the candlesticks you have, set them aside. You may find the perfect candlestick later!


Now for the testing!

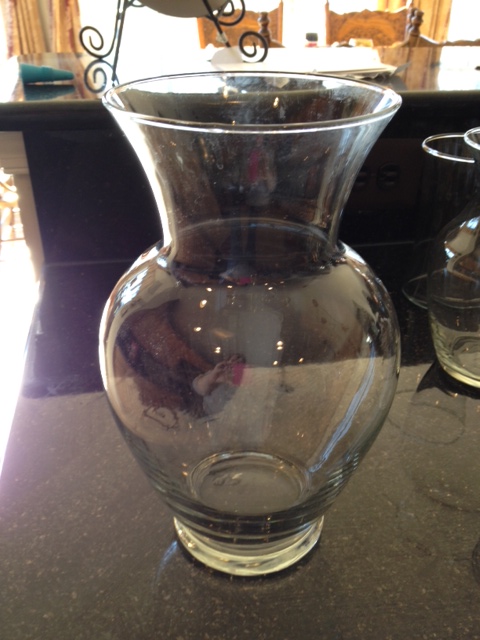
This jar is too narrow for Mercury Glass, and it looked wonderful WITHOUT adding the spray paint. I think all we need is a flower to make this beauty shine!


Now to glue them in place. I used "Weld Bond" glue from Michael's. You can go to any hardware store and ask for glue to bond glass. Make sure it dries CLEAR!

I'm LOVING my jars, don't you? Total Cost: $5 for jars, $7 for glue, $2 for candlesticks! Much better than
Here are some links for how to decorate with Apothecary Jars:
THAT was the good and easy project. Now for the REAL stuff. As in NOT FOR wimps. Like me!
*Disclaimer: it seems everybody's else's idea of easy is not MY definition of easy. I'm thinking just spritz, wipe, and WA LA! But alas... not so for me. YOU try it. Maybe you will get better results. Or maybe you will do something different and it will come all okey-dokey!


Start with the jars. Remember, you have to get your hand down in that sucker, so choose wisely!
Then, spray paint! But wait, which paint? The directions called for the Krylon Looking Glass Paint. Unfortunately, it's very expensive ($17??? Seriously?? It's SPRAY PAINT people!)
Now, I'm thinking my issues began right here. I did the spraying outside in direct sunlight, so the paint dried quickly. So when I went to the next step, it didn't work.

The directions called for mixing the vinegar and water in a spray bottle 50:50. Meaning half water, half vinegar.
Then spray the inside of the vase.

After an hour, this is as far as I got. Yeah. Not much fun. It didn't "flake off" I had to SCRATCH it off with my fingernails. I'm thinking I could have done more with some steel wool.

So, this project gets a THUMBS down for me. It was not easy. But I didn't use the same paint, and I sprayed in the sun so the paint dried too quickly. I ordered the mirror paint, so I'll try this again later.
TELL ME WHAT YOU THINK!!!
No comments:
Post a Comment
Please leave a comment! I consider all comments as part of the learning experiene!